Thursday, July 21, 2011

Shout out to Whimsy Couture

This week is pretty crazy on SYTYC. Theme is "Upcycled" and everyone did great! There are 5 left, with 2 WAY in the lead and the bottom 3 rotating in last place. I am very happy with my craft this week and at peace with "going home" should that happen. I LOVE my next week's craft and will showcase it on here even if I go home, so check back.

I wanted to give a shout out to one of our sponsors, Whimsy Couture, who will be giving 3 ebook patterns to the winner of this season's SYTYC. I was perusing her shop to make a list in case I won (insert laugh here....have you SEEN some of the ladies I am crafting against?). She happened to be having a 50% off sale that ended that evening, and I HAD to get this Mommy and me pillowcase garment pattern for me and Lucy. My girl LOVES to match mommy and this was too perfect. Lucy even helped me pick out the fabric, and said she wanted one part flowers and one part polka dots. I was a little nervous about finding fabric that didn't look too elementary, but I love how these turned out! Last week at Affair of the Heart, a big local craft fair, these were everywhere, for , like, $30 a piece! Whimsy Couture lets you sell all of their patterns in your shop. Hmmm. Enjoy. And, don't forget to vote for your favorite upcycled craft here. Polls close tomorrow at 9 pm.

Lucy and I's pillowcase garments. I made myself the smallest size and then made it even smaller since somehow I cut my width a little small. I will go a size up next time but still love how it turned out!


Lucy's pillowcase dress. How cute is this??


Too cute not to pose, again!


Lucy with her cousin and little bro at Kiddie Park.

Thursday, July 14, 2011

Anthropologie Dutch Tote

I made it another week! No way! Thanks for voting. Mine was the Anthro Double Dutch Tote. Did you guess? I took it to the library last week and felt so hip to have such an awesome handbag. The tutorial will be up early next week. The main part of the tutorial will be measurements for the wood handle and the pattern for the bag, which is one long piece. I doubled this piece to make it reversible, but it was easy, straight stitches. Love love love.

I was very excited about this week's theme. I NEVER sew anything for myself, so I decided I would make myself a knockoff designer handbag. When I saw this Double Dutch Bag on Anthropologie, I knew it was the project for me!

Tadahh!


This bag is roomy and beautiful! It requires a small amount of basic carpentry and beginner level sewing skills. It is completely customizable and, even better, completely reversible!

I made one side feminine and gorgeous and the other side more casual. You can use any fabric you so desire and even upcycle old clothes! I used linen, upholstery fabric, and upcycled clothing (an old floral skirt and a very used pair of men's jeans). The original Dutch bag uses scraps of dutch mail bags with wording on it, and I used freezer paper stencils and fabric paint to mimick that.


Did I mention that I LOVE THIS BAG?

Saturday, July 9, 2011

Whizbang Firecracker Wreath Tutorial

I made it another week! Thanks for Voting. Polls ended like this.
Poll: Dollar Store {week 3}

Picnik is being SLOW tonight, so I'm going to do my best to crank out this tutorial with not so edited pics. Better now with so so pics than a year from now, right? So here it is!

Starting with a wreath and garland from dollar tree,


I laid out the 36 coin wrappers and spray painted them with chrome, and saved about 10 of them which were spray painted with black. This was the bottom layer that will be the "writing" of the sounds. If you don't want sounds on them, you can skip this first step.

The black was just valspar flat paint and the silver was...haha..bumper chrome. My husband had it in the garage. You can use chrome colored spray paint...the bumper chrome worked just fine.

Spray paint them. You should probably do one coat on one side, then when it dries, do the other side, but I just did them both sides at once. Some of the paint did stick to the box, but since this was the bottom coat, I didn't worry about it too much.


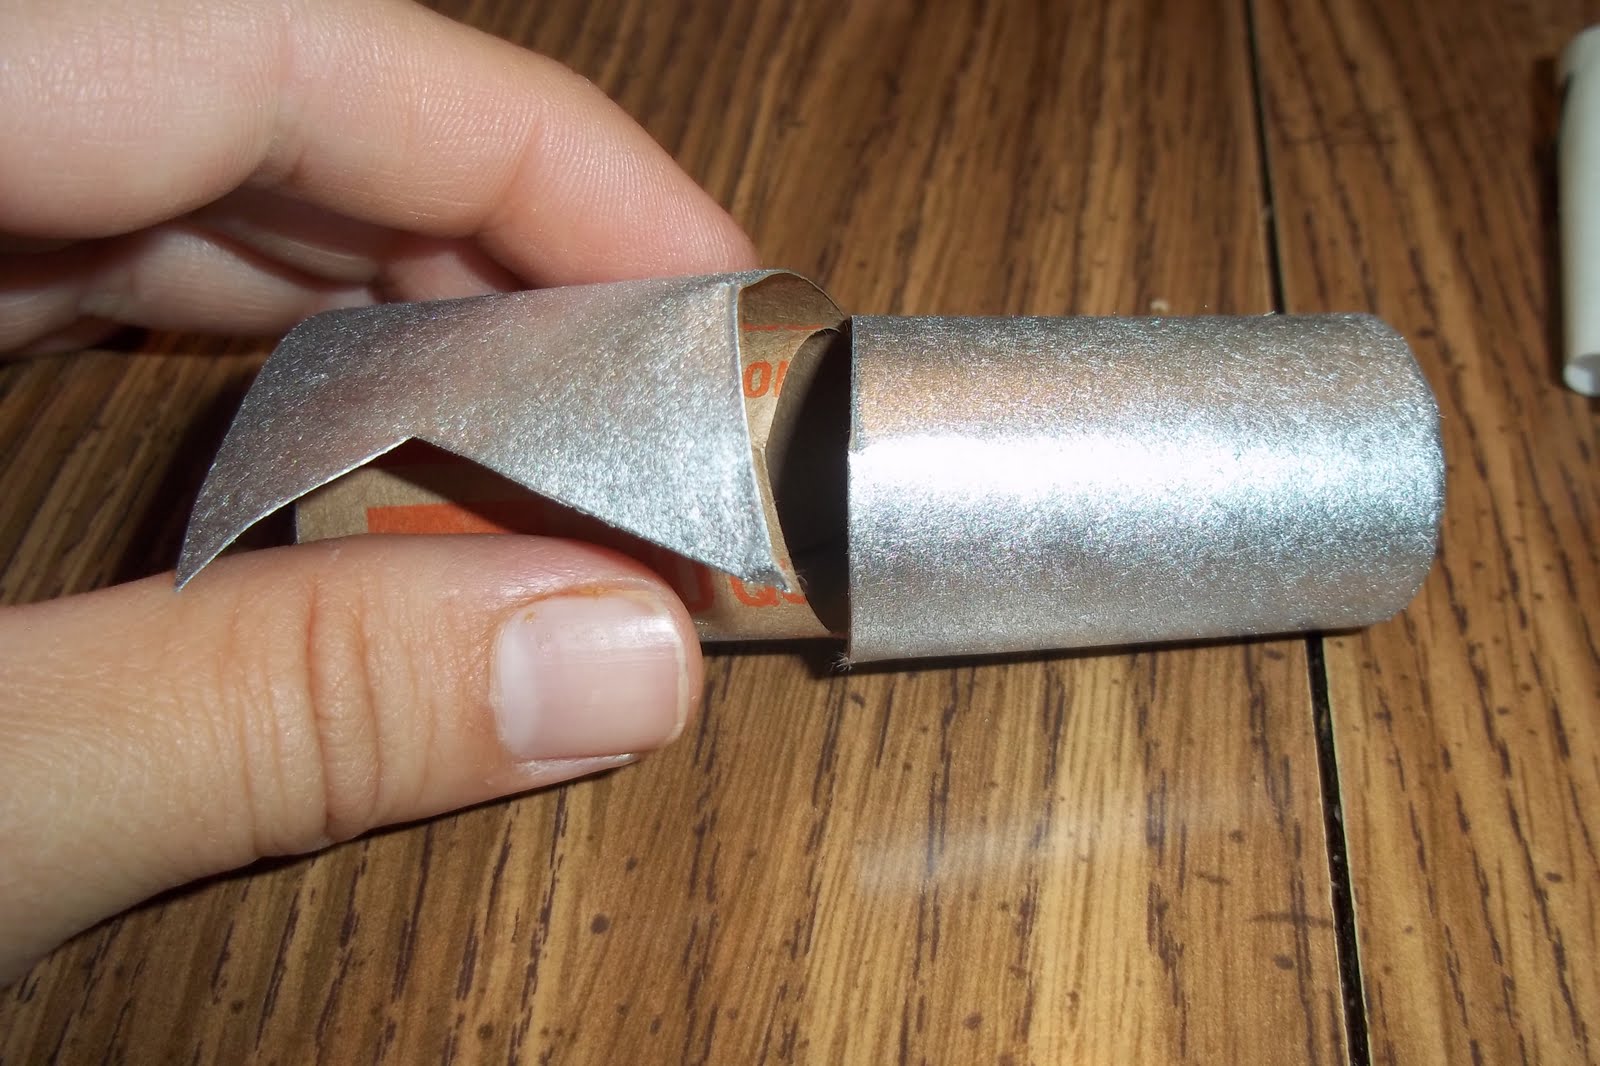
I cut each coin wrapper right in the center, and cut about 270 degrees around the circle, leaving only a small space of connection. It is important that you cut on the non rolled side, see the next pic, of when you cut on the rolled side.


It comes apart. No bueno.


Then you fold it back


And apply the word


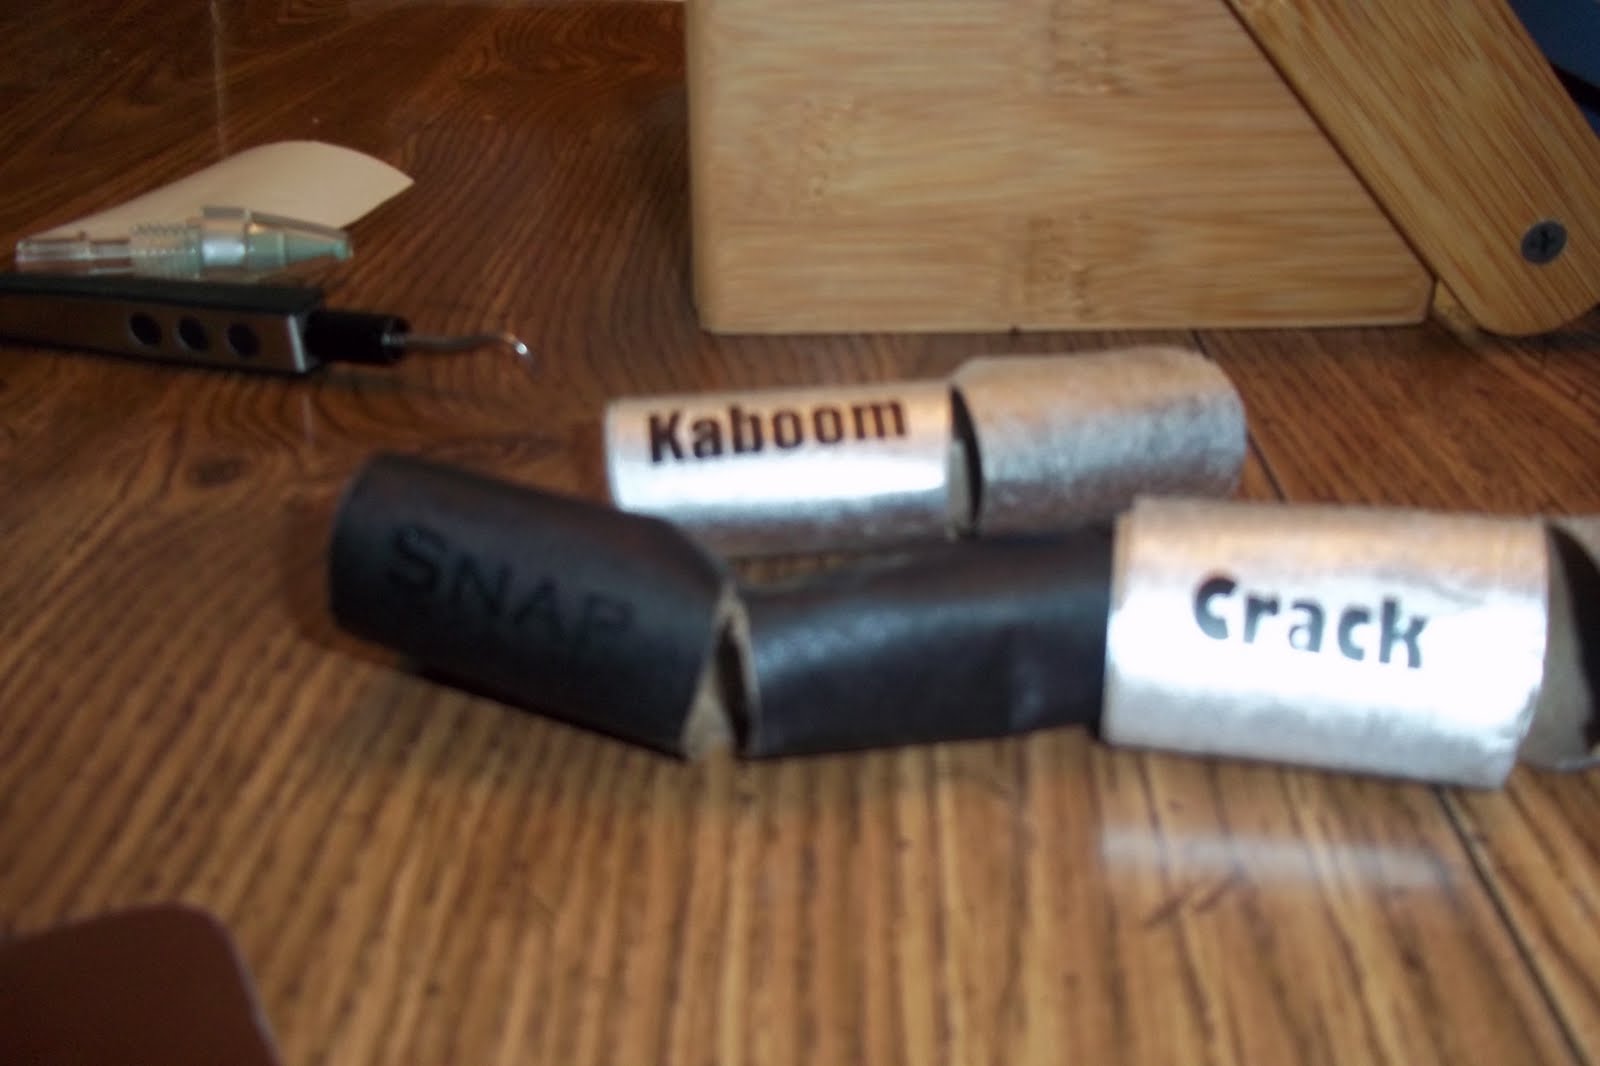
Using my Silhouette cutter, I cut onomotopea sounds from black vinyl in a size 30 point font with the following styles--pow-snap itc, pop, bang, zip-bauhaus 93, Zoom-Bernard MT condensed; snap-copperplate gothic bold, crack-gill sans ultra bold condensed, kaboom-impact. If you don't have a silhouette, you can use scrapbook letters or skip this step. You could possibly use vinyl through a cricut. But you will keep having to change cartridges and it will take forever, so you will have big time Silhouette envy :) Then you separate the negative space from positive space.


Using the Silhouette transfer sheet, I peeled each word from the backing,

And stuck it on the side of the firecracker.


Now do this a whole bunch of times. I had planned on doing sounds on every wrapper, but realized real fast that only about half of them would have words. I hadn't planned on using the negative space for some of them, but thought "Why not?" I love the dimension that it added.


Back to the cardboard.


I separated these out and painted the chrome ones red and blue. The black ones were painted chrome. Don't have a pic of the paint but it was valspar flat spray paint. You can use whatever you choose. I REALLY should have turned these as they dried, but I am impatient and did it all at once. Some didn't look so good.

And when those dried, I put a coat of this glitter spray on it. I thought it would give it a more refined touch. I got this glitter spray at Michael's.

Then I let that dry.

Then I peeled the vinyl off.

How cool does that look? I went into this project very blindly. I was getting excited here that my efforts weren't thwarted.

Then you do that a whole bunch more times.

Then you get a wreath from the dollar tree.

Spray that with bumper chrome (lol) and let that dry.

Then you cut little one inch pieces off of the garland. It will still stay intact..yay! Excuse these pics. It is naptime with my tripod :)

Then you put hot glue in one side (don't burn your fingers although I did)

And put one side of the garland piece through the wrapper to the glue

Then hot glue the other side

Then open the middle and pull the garland through.

Then trim it with scissors to the length you desire.

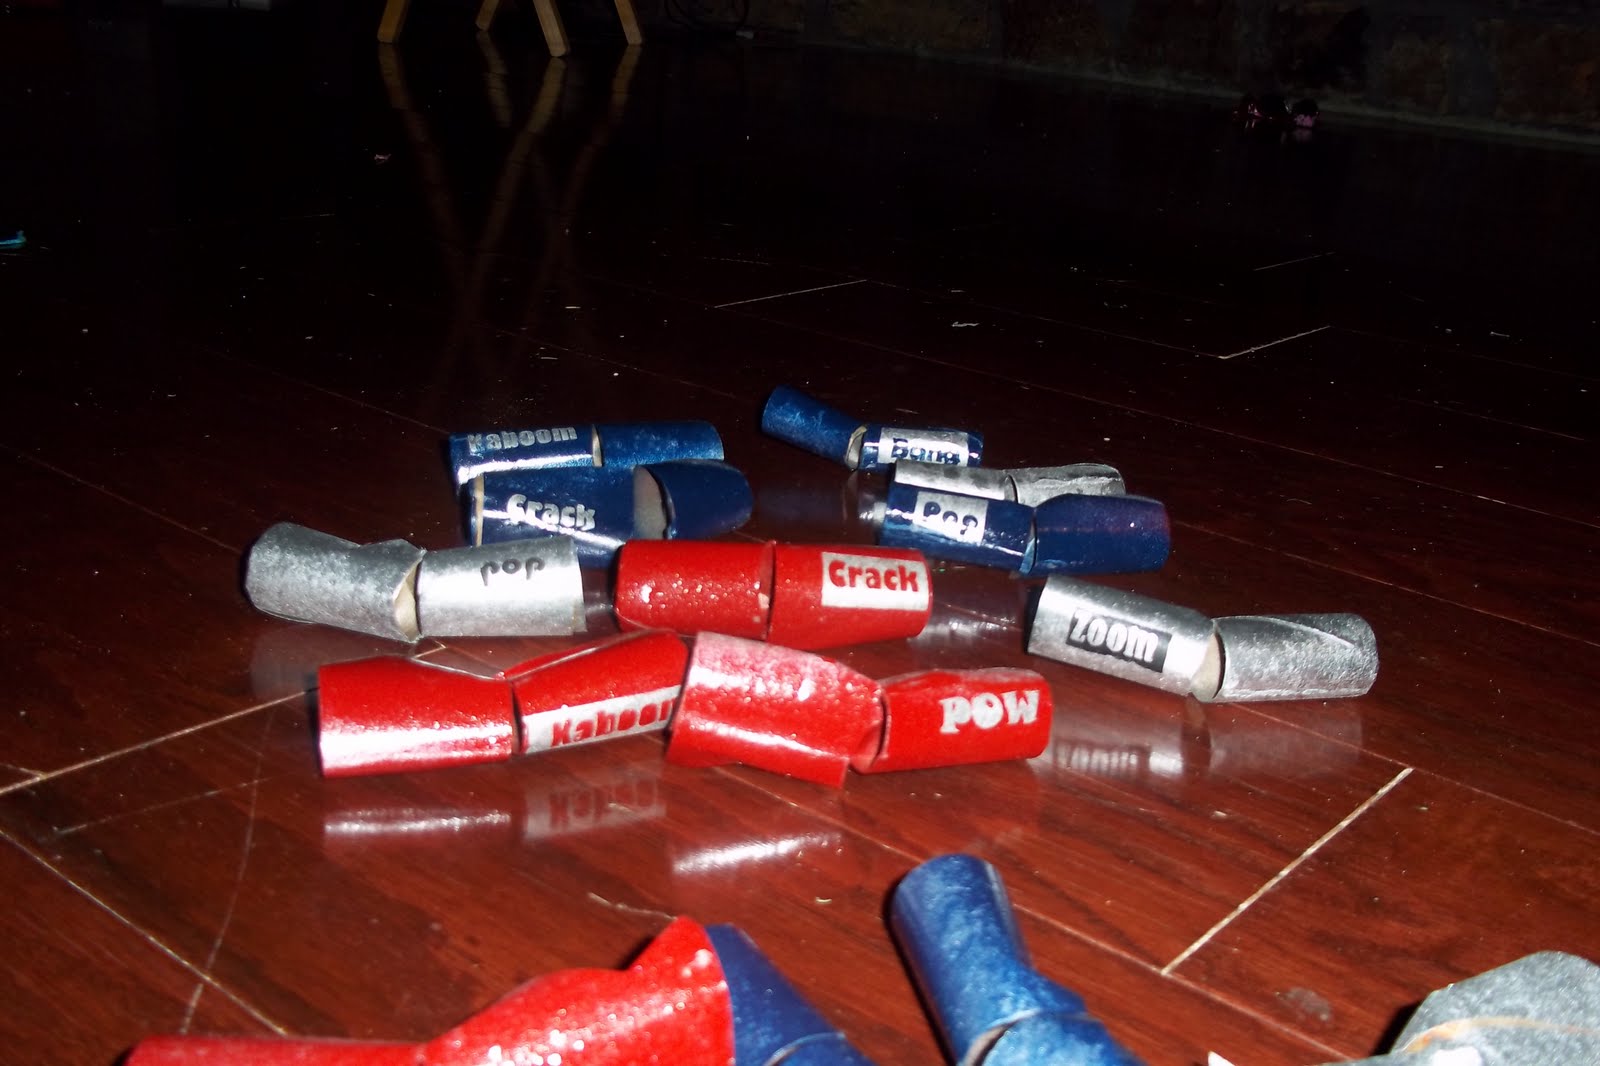
Then do it 35 more times and you have your firecrackers.

Say a prayer of Thanksgiving that your dollar tree project wasn't a total failure and take pics of your fun firecrackers.


Then get your chrome wreath, and position the firecrackers the way you want them, and hot glue them on.


From this to this, not bad, huh?


And you will have plenty left over to make these necklaces for the kids. They will LOVE them. I just crocheted the necklaces with chain 40 of red and blue yarn with an I hook, and attached the firecrackers through with a needle and yarn, but you can use any kind of necklace you choose.

I will post more pics later of the kids in these festive necklaces. So much fun! Let me know if you think you will make this. Thanks.

Sunday, July 3, 2011

Tooth Fairy Tracking Chart

The Tooth Fairy Tracking Chart was mine! Did you guess right? I am working on the tutorial now, and I have already had an expectant mommy ask me to make her one so she can track her kid's baby teeth. So much fun! Thanks for voting.

The Tooth Fairy is the toast of the "make-believe" town around here! I wanted to make a chart to help my kid track "progress" as each tooth was lost. Here I bring you, the "Tooth Fairy Tracking" Chart.


The backing is tin, and the teeth are magnets that move to the corresponding number (age) when the tooth falls out, along with a special magnetized "jewel" that the tooth fairy leaves behind.


Kids not old enough for the Tooth Fairy yet?? Ahhh! I bring you Option #2...Tracking your kid's baby teeth.


My kids love this and it makes the tooth fairy more magical than ever!

Monday, June 27, 2011

Tim Urban and the Halter to Toddler Dress

Yep, the Halter to Toddler Dress was mine. Love Love Love.

One of my favorite American Idol Contestants from Season 9 is Tim Urban. I am Texas-biased, of course, but I liked this little cutie from Duncanville, TX who laughed every time judges criticized him. He was supposed to go home after the top 24 were announced, but due to an equivocation about another contestant having a previous record contract, they came to the airport and asked him to come back. He did, and made it to the top 7.

I am sort of like the Tim Urban of this season of SYTYC. Polls looked like this

Poll: Wild Card {week 1}

I am last. No big deal, it was fun to try and I still LOVE the dress. But Holly at Domestic Dork decided to leave, even though her rockin tickety tock clock kicked my toddler dress in the tail. It was no equivocation about a record contract. She felt like she needed to be "peace out" with the blogging world for awhile. You can read about it here. Farewell, Holly. You seem like a funny and fun mama and I wish I could have seen you compete more in the contest.

So I am back. I didn't pack my bags and go to the airport. I was just WAY DOWN in the polls and had a lot of work to do after returning from a relaxing weekend in Mexico...more about that later. I emailed Missy the day the craft was due and said "I think I'm toast in the contest...may not be motivated to finish my next craft", which was about 20% done, since it looked like I would be "going home" anyway. Then Missy e-mailed me back and said, "I would still do one."

So here I am. I am so happy to post pics of Lucy in the toddler dress and finish up the tutorial. This week's theme is "Make Believe". Go here and vote. I loved my halter and I love my craft this week, so even if I am last place again, I am OK with that.

Oh, and btw, Tim Urban was in Cancun the same time I was...at a neighboring resort. Along with Aaron Kelly, Ruben Studdard, and Corbin Bleu, to name a few. They had a concert and I had the opportunity to go, but my fellow travellers opted for a cozy night kids free. Could ya blame them? Farewell, Tim! Maybe next time.

Lucy got to wear her dress to church today. We can "come out" with the dress, since the polls have closed. Some of my church friends knew I was in Season 8 of SYTYC, but didn't know which one was mine :) Sawyer wanted in the picture, too.

Here's us with her dress and my dress that I made using a LBB Pieced Tunic Dress Pattern. Too bad you can't see my super cute pink heels that matched.

Wednesday, June 22, 2011

You Decide!

I am so excited to announce that I am a contestant this season on "So You Think You're Crafty". So many tutorials that have helped me, now I get a chance to try! I have pondered the last few seasons, but it hasn't been a good time, but when is it ever a good time??? So excited to finally compete. Go here and vote for your favorite. Polls close on Friday!

Saturday, June 4, 2011

Sand Art Brownie Mix

This is an excerpt from my family's blog, which I thought would be appropriate to move on over here. They make great gifts!

I saw this in last year's "Taste of Home" and thought it would be the perfect project for my kids to work on with me as teacher Christmas gifts. We made 7 jars of this brownie mix, and of course one for us. One has to try the recipe out before we mass distribute it, right?

I got the jars from The Container Store for $4 each. The ingredients were about $20, and that makes 7 gifts. Not bad for a teacher gift, huh?

Despite my plan for the kids to work on these with me, they lost interest pretty quickly. We got enough involvement for each kid to take a picture "in action", and then it was pretty much time for Kevin and I to work like 60 finishing these out while the kids played.


Ta dah! The completed jars. I will decorate them and send a final pic. Homemade by Jill has some great ideas for decorating jars for Christmas.


Sand Art Brownie Mix (Taste of Home Dec/Jan 2009 Issue)
1 cup + 2 T all-purpose flour
1/2 t salt
2/3 cup packed brown sugar
2/3 cup sugar
1/3 cup baking cocoa
1/2 cup semisweet chocolate chips
1/2 cup vanilla or white chips
1/2 cup chopped pecans (I used walnuts)

Additional ingredients:
3 eggs
2/3 cup canola oil
1 t vanilla extract

Sand art instructions:
in a small bowl, combine flour and salt. In a 1 qt glass conainter, layer the flour mixture, cocoa, sugar, brown sugar, chips, and nuts. Cover and store in a cool dry place for up to 6 months. Yield: 1 batch (4 cups total)

To prepare brownies: In a large bowl, whisk the eggs, oil, and vanilla. Add brownie mix, stir until blended.

Spread into greased 9-in square baking pan. Bake at 350 for 25-30 minutes or until a toothpick inserted near the center comes out clean (do not overbake). Cool on wire rack.